How to track achievements in a Unity game
 By Mike Dalton ·
Achievement tracking records the milestones players reach in your game, such as a high score, a cleared level, or a hidden secret. In a Unity game, a script running on the player's machine sends each milestone to an API while the game keeps running.
To show what that looks like, we built Orb Rush, a small Unity game where the player has 30 seconds to collect as many orbs as possible, and integrated the Game Stats AI API into it. The finished project is in our example repository. It uses Unity 6000.5 and C#, and it targets desktop builds. If you are also considering Unity's own service, see Unity Analytics in 2026: pricing, limits, and alternatives.
Step 1: Decide what counts as an achievement
Map achievements onto moments that already exist in your game. In Orb Rush, the score goes up by one for every orb the player collects, so the achievements are collecting 10, 20, and 30 orbs in one round.
The game script already handles a collected orb, so that is where the unlock call goes:
static readonly Dictionary<int, string> OrbAchievements = new()
{
    { 10, "Collected 10 Orbs" },
    { 20, "Collected 20 Orbs" },
    { 30, "Collected 30 Orbs" },
};

void CollectOrb()
{
    orbsCollected += 1;
    if (OrbAchievements.TryGetValue(orbsCollected, out var achievementName))
    {
        GameStats.Instance.Unlock(achievementName);
    }
    MoveOrb();
}
GameStats is the component the rest of this guide builds.
Step 2: Create a client token
Game Stats AI accepts achievement events at a single endpoint:
POST https://gamestats.ai/api/v1/accounts/{account_id}/achievement_events
Authorization: Bearer <token>
Content-Type: application/json
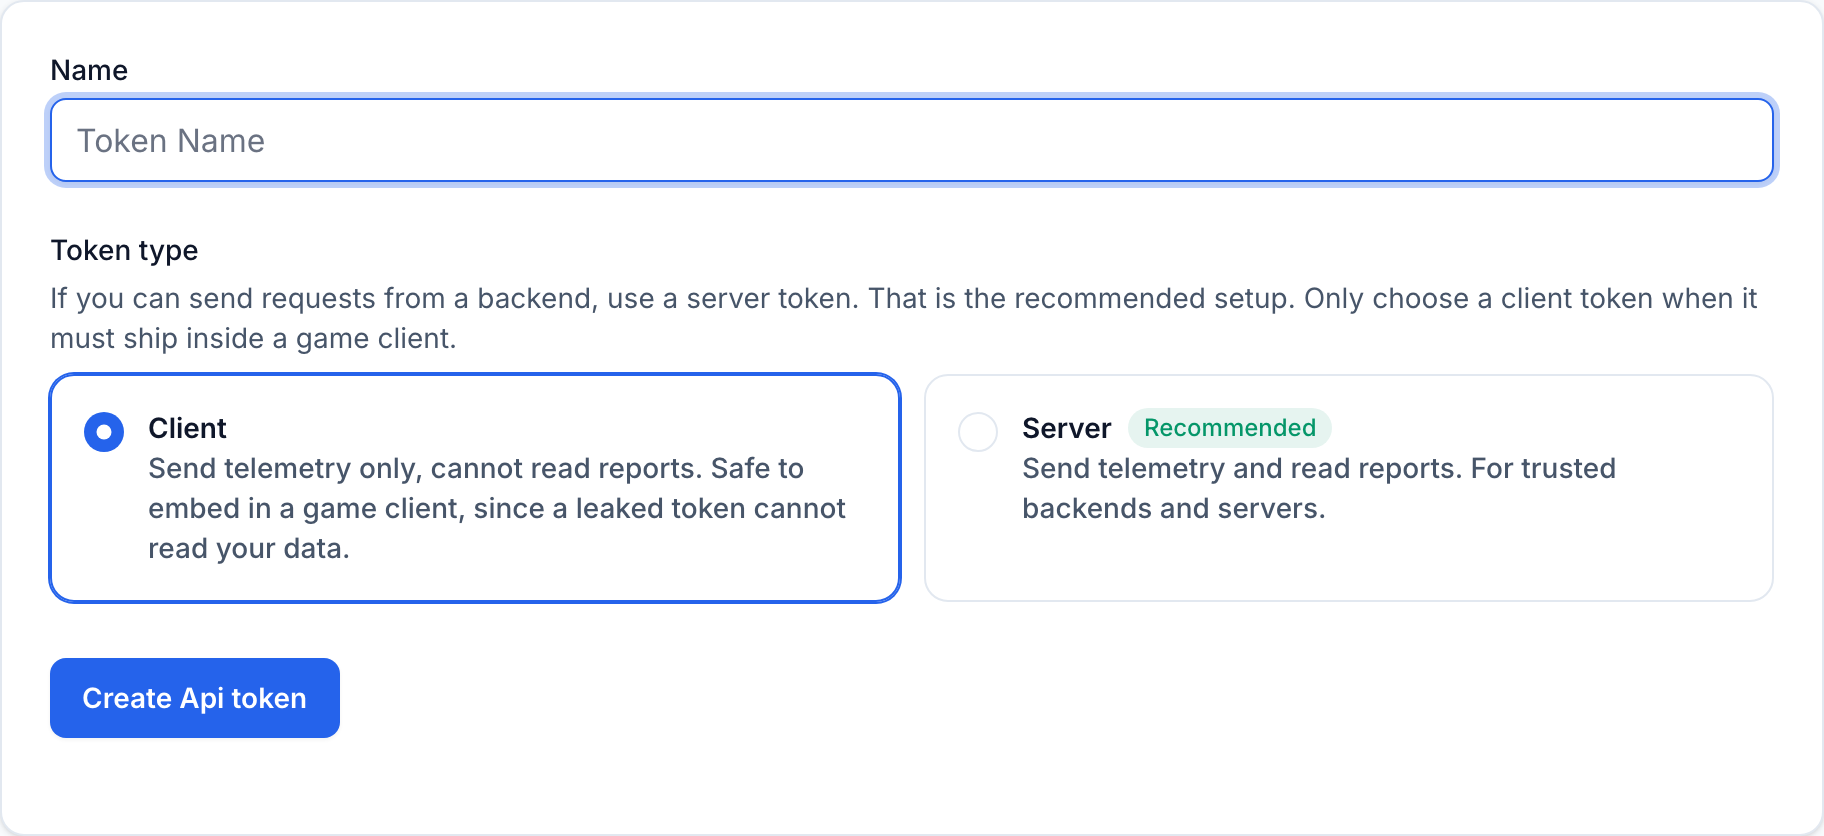
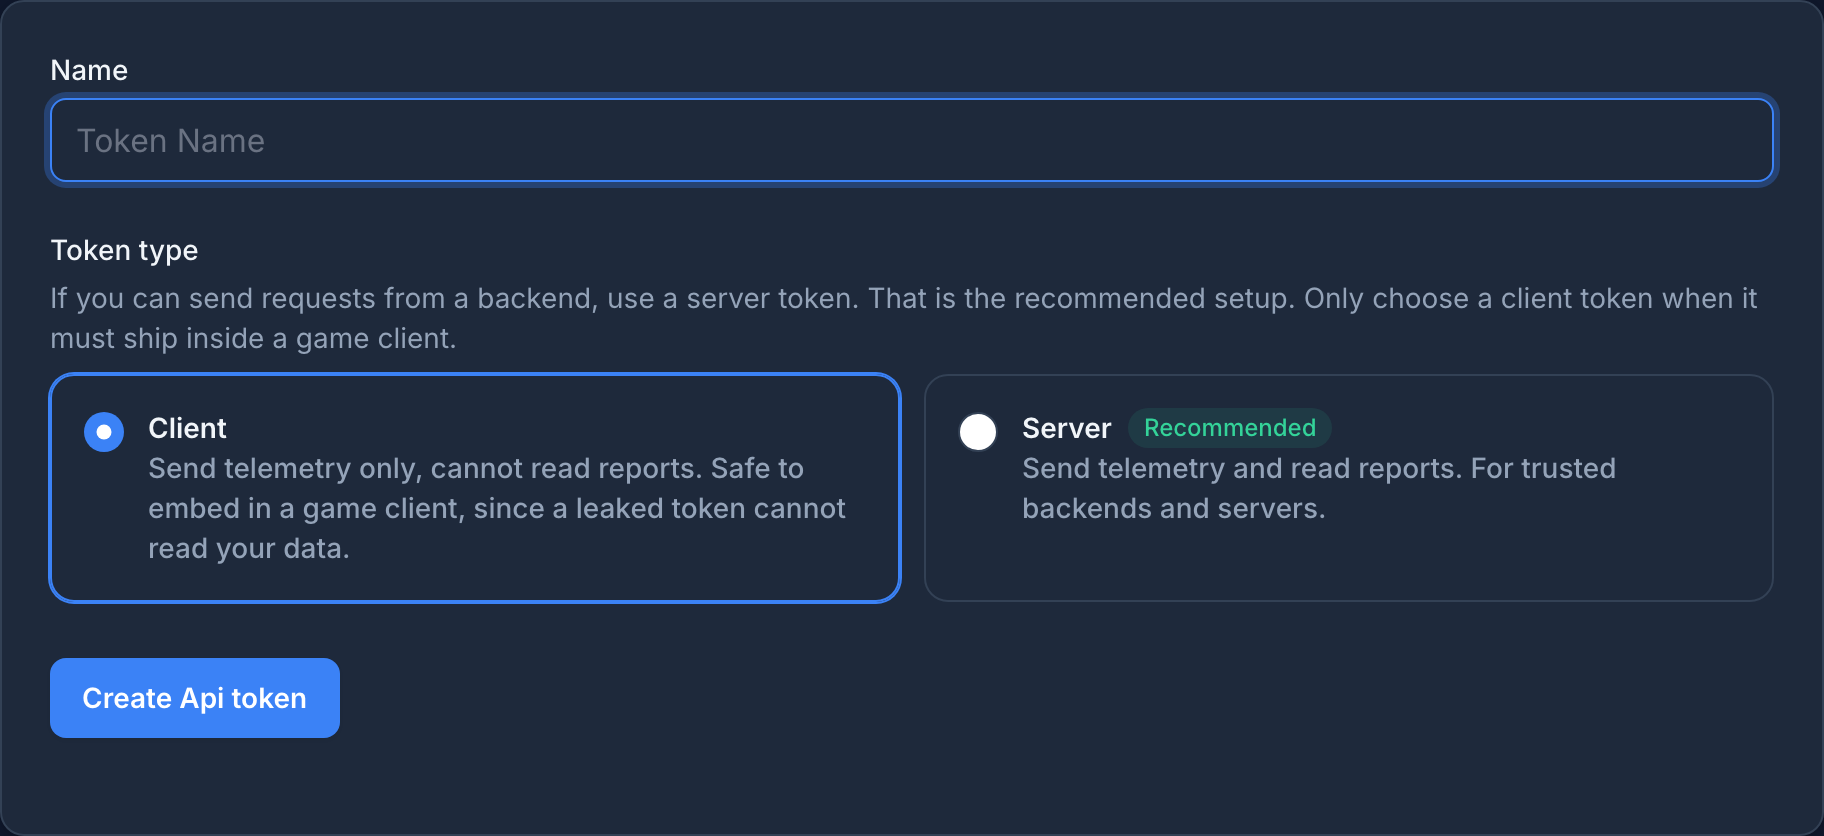
This token ships inside your game, which players download and run, so treat it as public. Create a client token, not a server token. In Settings > API tokens, choose Client
when you create the token. A client token can only send telemetry, so a leaked one cannot read your account's reports.
Store the account id and token in Assets/StreamingAssets/game_stats.json:
{
  "account_id": "your_account_id",
  "api_token": "client_your_token"
}
Add the file and its .meta file to .gitignore to keep the token out of your repository. Step 7 explains why players can still read it.
Step 3: Add a GameStats component that stays alive
Unity calls a static method marked [RuntimeInitializeOnLoadMethod] when the game starts. With BeforeSceneLoad, it runs before the first scene loads, so GameStats creates its own GameObject and no scene needs to contain it. DontDestroyOnLoad keeps that GameObject alive across scene changes, so any script can call GameStats.Instance:
[RuntimeInitializeOnLoadMethod(RuntimeInitializeLoadType.BeforeSceneLoad)]
static void CreateInstance()
{
    var gameObject = new GameObject("GameStats");
    DontDestroyOnLoad(gameObject);
    Instance = gameObject.AddComponent<GameStats>();
}

void Awake()
{
    var configPath = Path.Combine(Application.streamingAssetsPath, ConfigFileName);
    if (!File.Exists(configPath))
    {
        Debug.LogWarning($"Game Stats AI is disabled: {configPath} is missing.");
        enabled = false;
        return;
    }

    var config = JsonUtility.FromJson<GameStatsConfig>(File.ReadAllText(configPath));
    endpointUrl = $"{config.base_url}/api/v1/accounts/{config.account_id}/achievement_events";
    apiToken = config.api_token;

    statePath = Path.Combine(Application.persistentDataPath, StateFileName);
    LoadState();
    StartCoroutine(SendPendingEvents());
}
In Awake, the component reads the config file and builds the URL once. If the file is missing, it disables itself and the game runs normally.
JsonUtility fills the fields of a [Serializable] class from the JSON keys with the same names:
[Serializable]
class GameStatsConfig
{
    public string base_url = "https://gamestats.ai";
    public string account_id;
    public string api_token;
}
Fields that are not in the file keep their default values, so base_url points at Game Stats AI unless you add a base_url key.
Step 4: Build the payload
The body is four required fields:
public void Unlock(string achievementName)
{
    if (!enabled || state.unlockedAchievements.Contains(achievementName))
    {
        return;
    }

    state.unlockedAchievements.Add(achievementName);
    state.pendingEvents.Add(new AchievementEvent
    {
        version_name = Application.version,
        player_username = state.playerUsername,
        achievement_name = achievementName,
        occurred_at = DateTime.UtcNow.ToString("o"),
    });
    SaveState();

    if (!sending)
    {
        StartCoroutine(SendPendingEvents());
    }
}
[Serializable]
class AchievementEvent
{
    public string version_name;
    public string player_username;
    public string achievement_name;
    public string occurred_at;
}
The field names match the JSON keys the API expects, because JsonUtility uses field names as keys. Application.version comes from Edit > Project Settings > Player > Version. Set it before you ship each build, and Game Stats AI groups unlocks by that version. DateTime.UtcNow.ToString("o") returns the current UTC time in ISO 8601 format, for example 2026-10-12T21:47:13.0283120Z. Achievements, players, and versions are created on first use, so there is nothing to register in advance.
The event is stamped with occurred_at once, when the player unlocks the achievement, and stored with that timestamp. Game Stats AI ignores an unlock it has already received only when the player, achievement, version, and occurred_at all match. A retry that rebuilt the payload with a new timestamp would record a second unlock.
Step 5: Send events with UnityWebRequest in a coroutine
A coroutine is a method that Unity can pause and resume across frames. When a coroutine yields SendWebRequest(), Unity pauses it until the response arrives, and the game keeps running in the meantime.
The coroutine sends the first pending event and waits for the response before it sends the next one:
IEnumerator SendPendingEvents()
{
    sending = true;

    while (state.pendingEvents.Count > 0)
    {
        var body = JsonUtility.ToJson(state.pendingEvents[0]);
        using var request = UnityWebRequest.Post(endpointUrl, body, "application/json");
        request.SetRequestHeader("Authorization", $"Bearer {apiToken}");
        request.timeout = 10;
        yield return request.SendWebRequest();

        if (request.responseCode == 422)
        {
            Debug.LogWarning($"Game Stats AI rejected an event: {request.downloadHandler.text}");
        }

        if (request.responseCode == 201 || request.responseCode == 422)
        {
            state.pendingEvents.RemoveAt(0);
            SaveState();
        }
        else
        {
            yield return new WaitForSeconds(RetryDelaySeconds);
        }
    }

    sending = false;
}
A 201 means the event was accepted. A 422 means the payload itself is invalid, for example {"errors":["Version name can't be blank"]}, so sending it again will not help: log it and move on. Anything else, including no connection at all, keeps the event at the front of the queue and tries again in 30 seconds. The sending flag makes sure only one copy of the coroutine runs at a time, so Unlock adds to the queue while a request is in progress.
Step 6: Save unlocks between sessions
The component keeps three things in a JSON file in Application.persistentDataPath, a folder for each user that Unity keeps between runs: a generated player name, the achievements already unlocked, and the events not yet sent.
void LoadState()
{
    state = File.Exists(statePath)
        ? JsonUtility.FromJson<GameStatsState>(File.ReadAllText(statePath))
        : new GameStatsState();

    if (string.IsNullOrEmpty(state.playerUsername))
    {
        state.playerUsername = "player_" + Guid.NewGuid().ToString("N").Substring(0, 12);
    }
    SaveState();
}

void SaveState()
{
    File.WriteAllText(statePath, JsonUtility.ToJson(state));
}
[Serializable]
class GameStatsState
{
    public string playerUsername;
    public List<string> unlockedAchievements = new();
    public List<AchievementEvent> pendingEvents = new();
}
The unlocked list means each achievement is sent once per player, not once per round. The pending list means an unlock made while the player is offline is not lost. To test it, we stopped the server, played a round of Orb Rush, and started the game again after the server was back: the three unlocks were sent on launch with their original timestamps. If your game already has player accounts, use that id for player_username instead of a generated one.
Step 7: Ship the config file with your builds
Unity copies everything in Assets/StreamingAssets into every build unchanged, so the config file needs no extra build step. In a macOS build, it ends up at OrbRush.app/Contents/Resources/Data/StreamingAssets/game_stats.json.
Anyone who downloads your game can read this file, which is why it must hold a client token and never a server token.
Step 8: See the unlocks in a report
To compare achievements, open Reports, choose New report, pick Achievement report, and select the achievements to include.
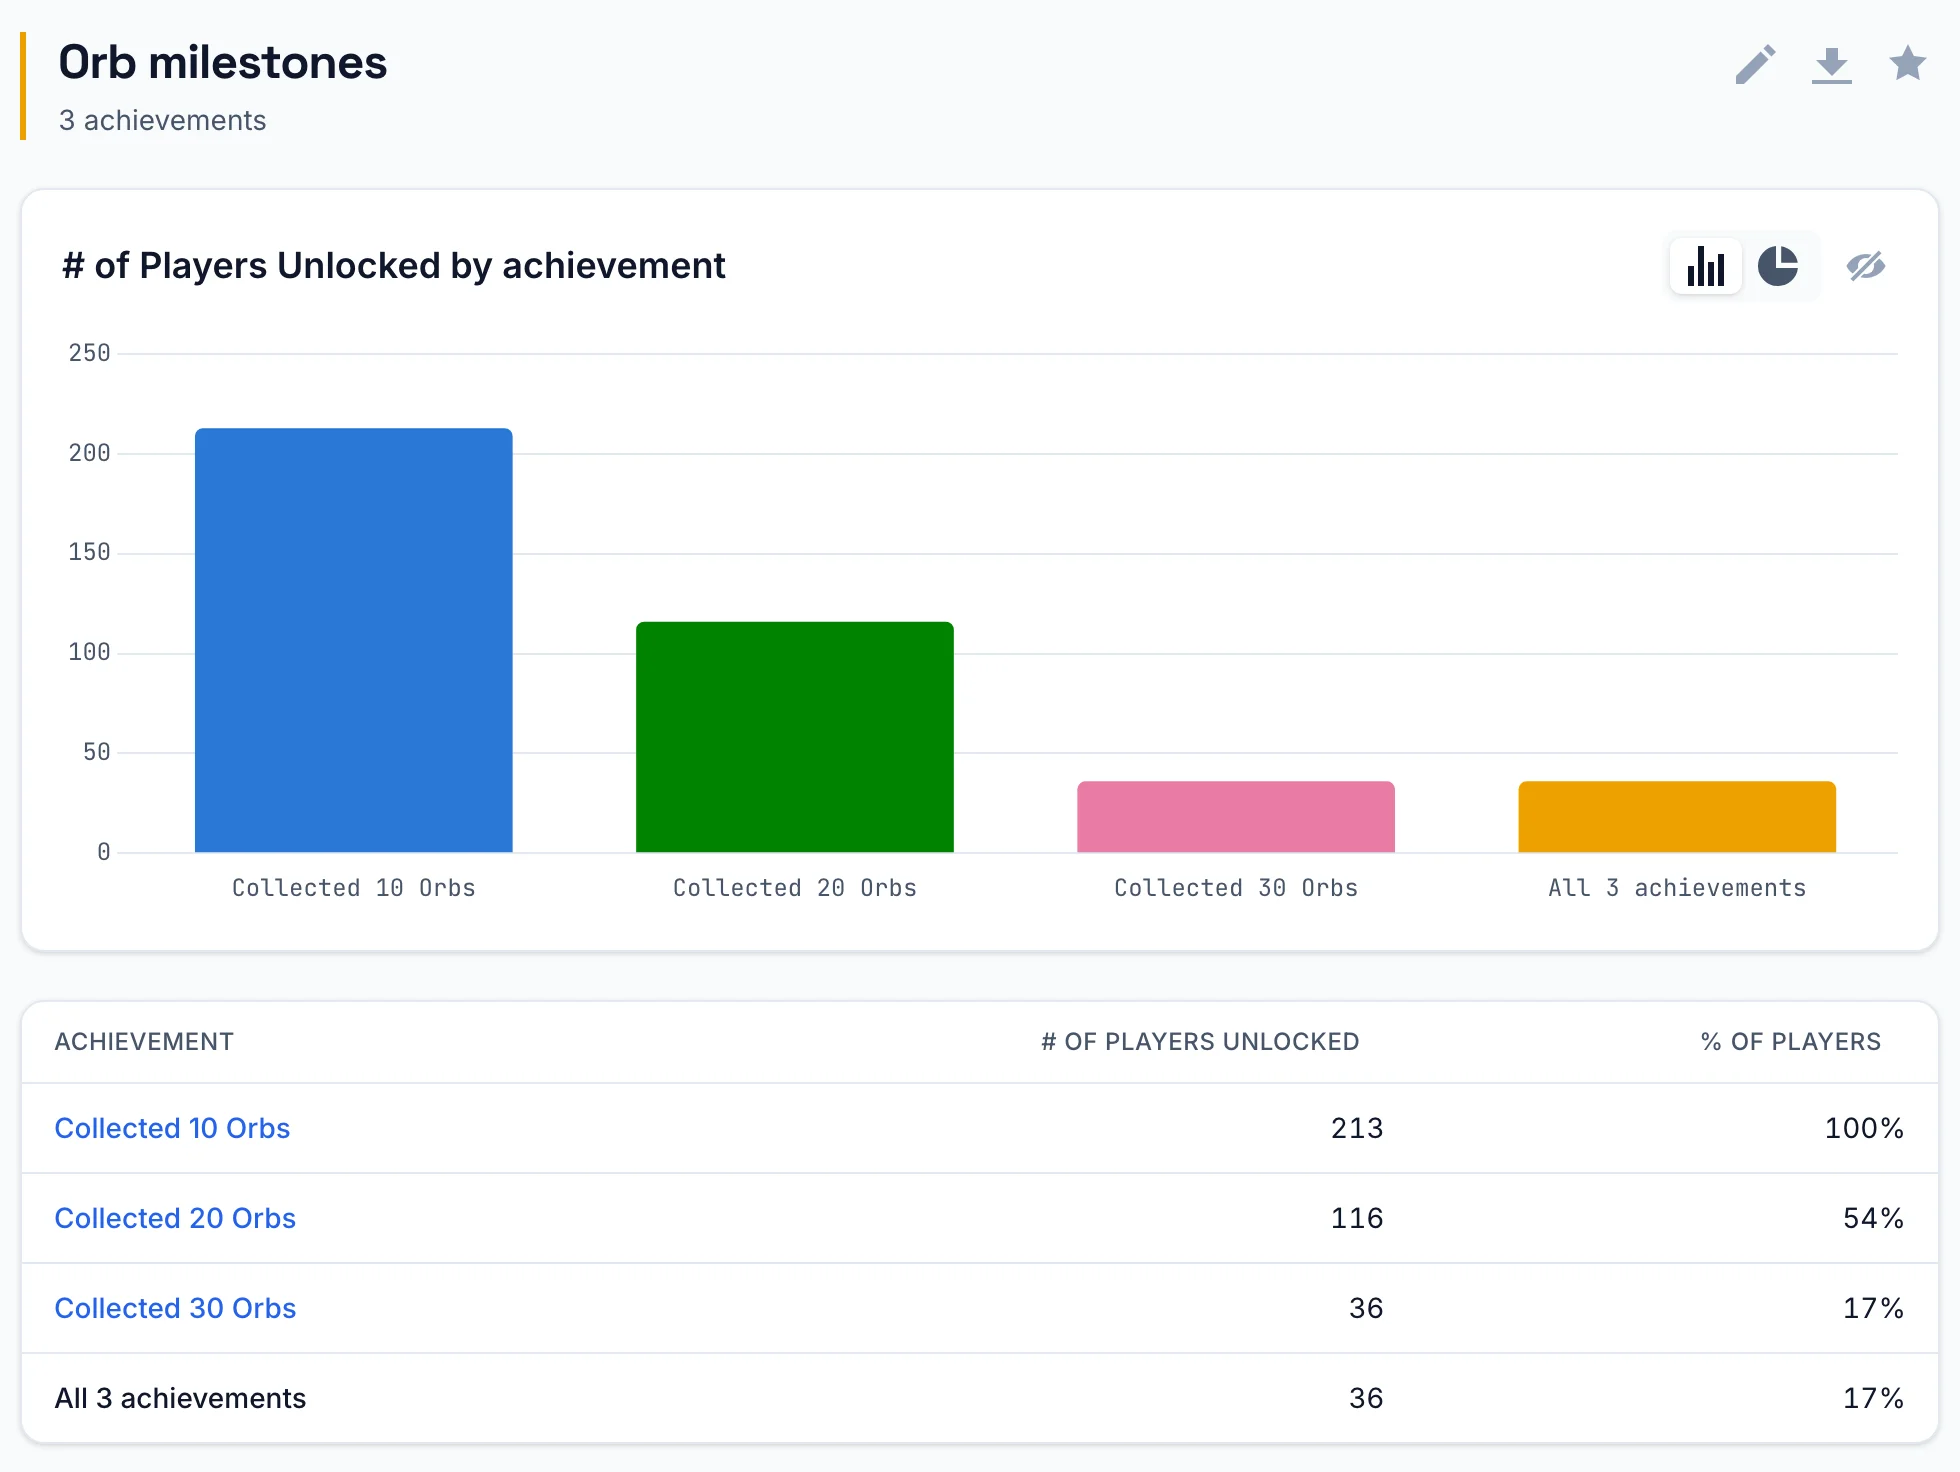
The report below comes from our own test runs of Orb Rush plus simulated players sent to the same endpoint. All 213 players collected 10 orbs, 116 (54%) collected 20, and 36 (17%) collected 30:
The full integration is in the example repository.